Getting started with Pixlr Express for Android
With all the features of Pixlr-o-Matic and more, the latest addition to Autodesk's apps might be all you need for mobile photo editing.


Generally the addition of "Express" to the name of any program means that it is a light or less feature-packed version of the original. However, in the case of Pixlr Express, the amount of options packed into the app doesn't make it feel like a light version at all.
The company behind this app is Autodesk, which also makes Pixlr-o-Matic and AutoCAD. Think of Pixlr Express as a beefed-up version of Pixlr-o-Matic; not only do you get all of the vintage filters, but another 600+ effects can be applied in the new app.
Get started by grabbing a copy of the Pixlr Express app for your Android device. After installing, you may want to visit the Settings cog in the top left-hand corner before you start editing photos. Here you'll find options for your default save size (large is recommended), the default folder to save photos in (this doesn't need to be edited), whether to start the app in Camera mode, and most importantly: Approve data collection. This is the app's way of collecting data such as the OS used to access it, session length, locale and Wi-Fi status. The full details are disclosed in the Legal/Privacy option on that same menu. If you're OK with this information being collected, leave the box checked, if you're not, don't.
Now that the preferences are set to your liking, press the Back button and decide whether to take a new photo or edit one from your Gallery. One missing feature here is the ability to see live filters on your images -- though this might be due to the sheer volume of options available making it difficult to process them all live.
On the first menu you'll be greeted with options to make Adjustments, add Effects, add Overlays, or add a Border.
Adjustment
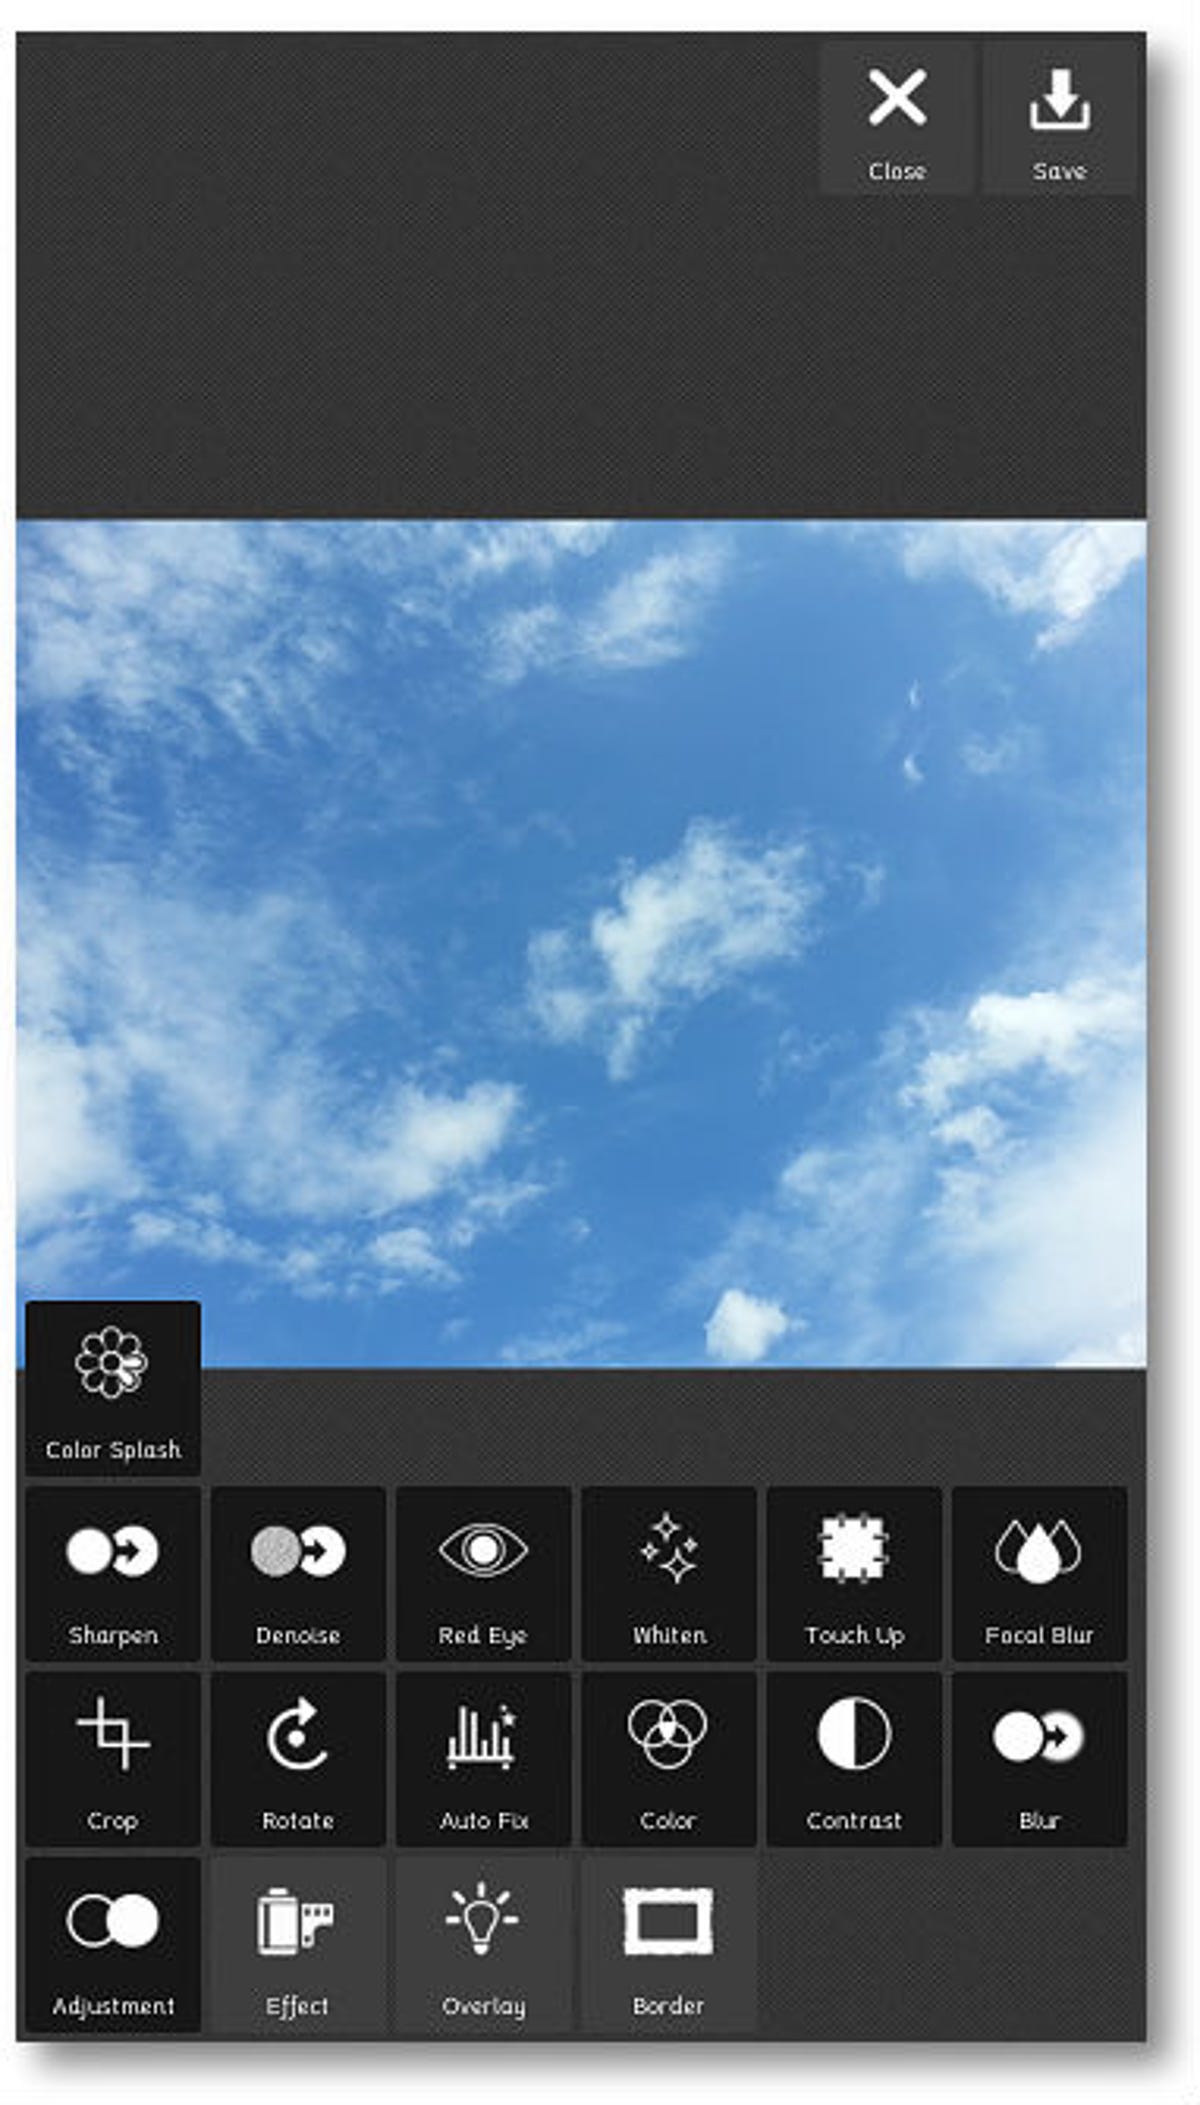
This menu has options like Sharpen, remove Red Eye, Whiten, Touch Up, Crop, Rotate, Auto Fix, and so on. Each of these options, with the exception of Auto Fix, will allow you to control how the adjustment is made when selected.
Effect
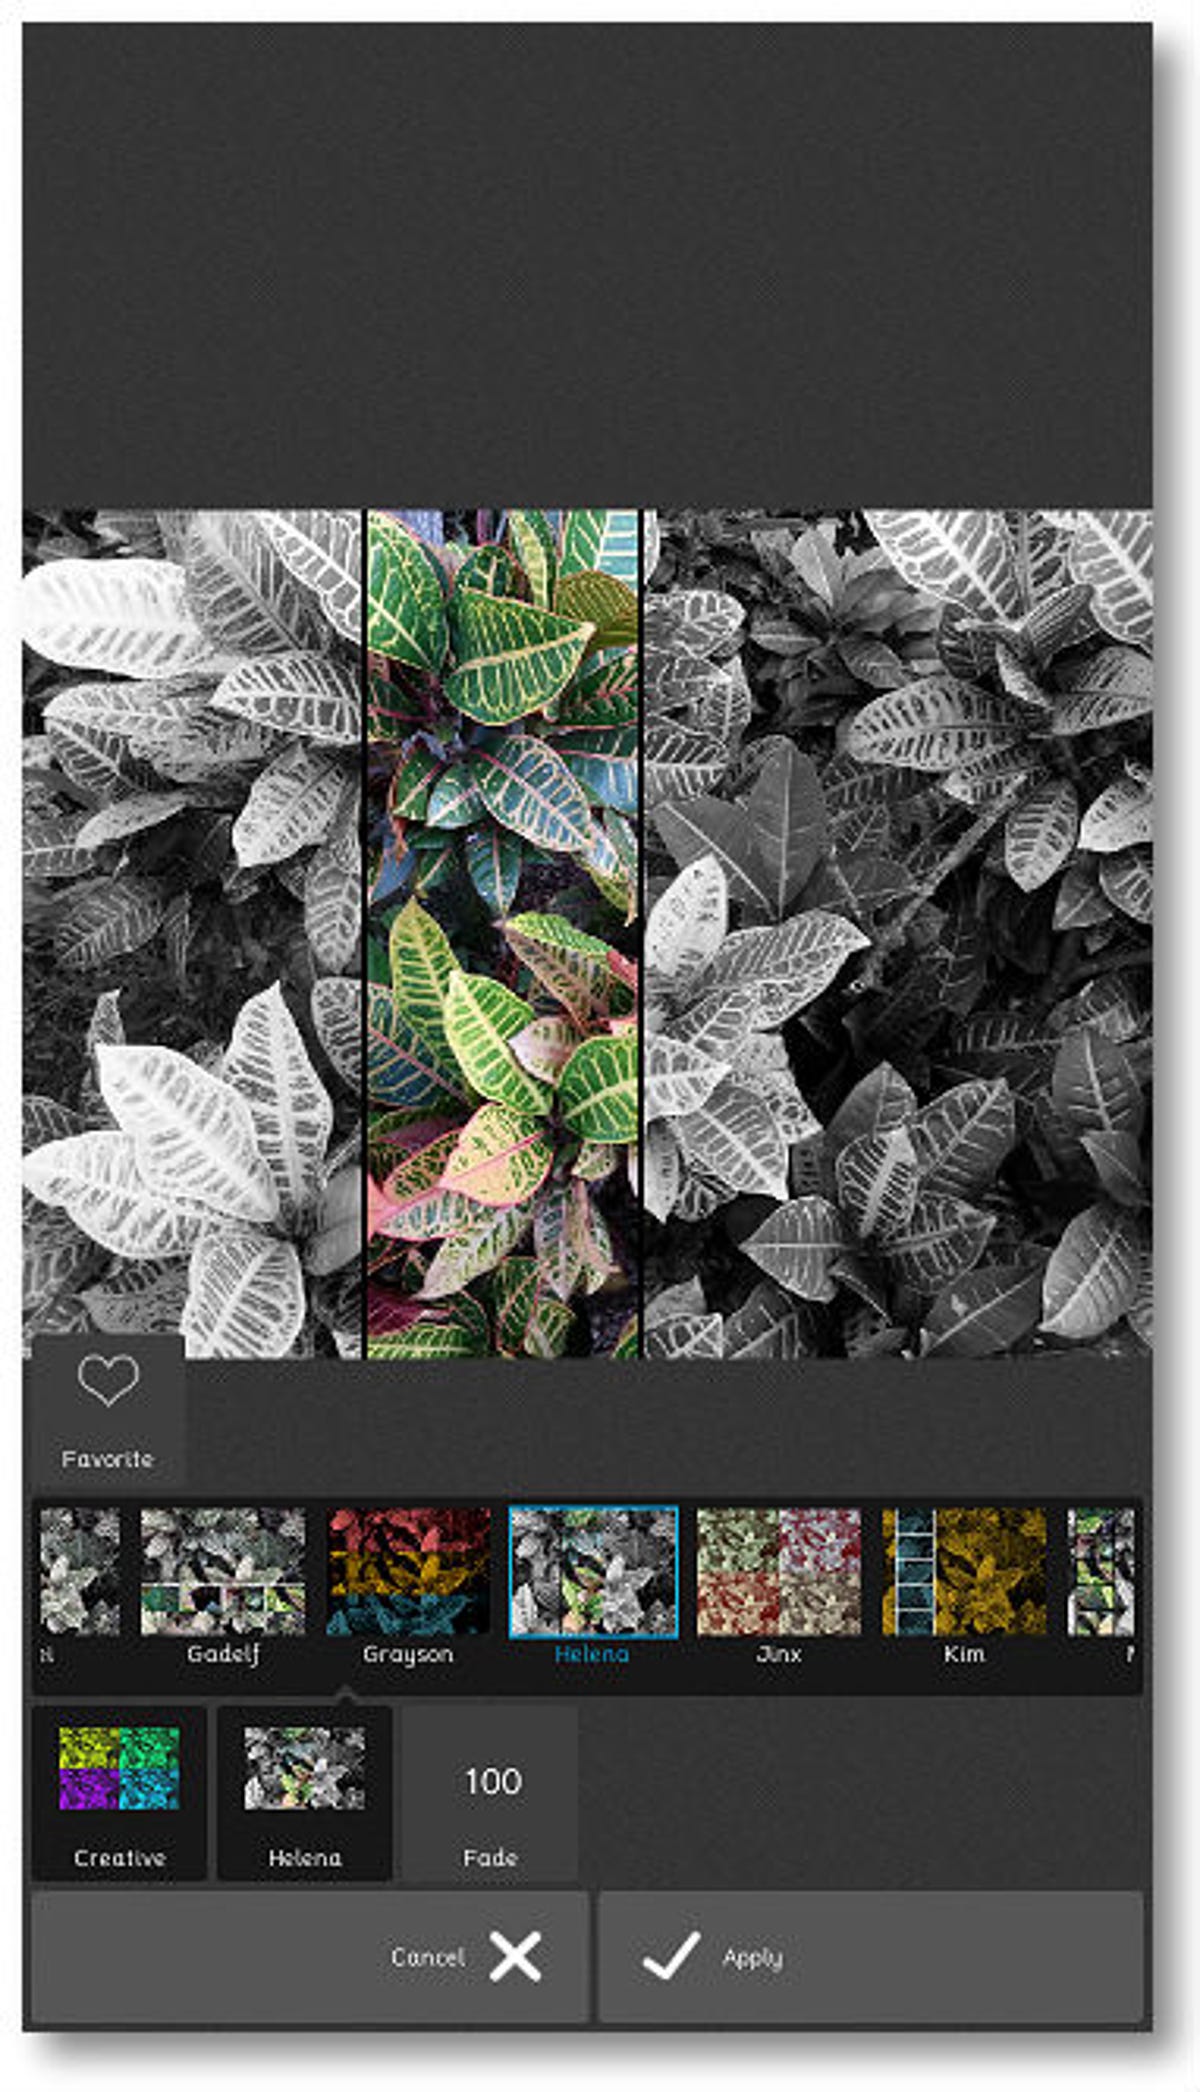
Here you can find options that will allow you to apply filters that alter the appearance of the entire image, like the vintage filters in Pixlr-o-Matic. There are many other color options and even a few Creative effects that will chop the image into multiple parts and apply different effects to each one. After applying one of these effects, tap on the Fade box at the bottom to adjust the intensity of the filter.
Overlays

This is where the majority of the features are hidden, since the collection of Overlays is huge! Not all of the Overlays will be installed to start, but a simple tap on the category will download it to your collection -- for free. One really cool feature of the Overlays is that you can move them around on the photo. This helps when the overlay blocks out a specific area you want to emphasize, not hide.
If you come across any effect that you really like, just apply it to the image and tap on the heart icon to add it to your favorites. This will create a new category in that area of the app called Favorites, allowing quick and easy access to it later.
Once you've finished editing the image to your liking, it can be saved by pressing the Save button on the top right-hand corner of the app. The Share and Gallery buttons will then load, letting you decide if you want to share the image through one of your installed apps, or just Save to your personal Gallery on the device.
Will this app replace several others that you use on your Android? Is anything missing? Share your thoughts, and even a link to an image you created, in the comments!