Getting started with Greasemonkey userscripts
Learn what Greasemonkey userscripts can do to improve your browsing experience, where to find them, and how to install them.


Are there elements of the Web pages you frequent that annoy you? If so, the odds are good that they have also annoyed someone with a working knowledge of JavaScript who has taken it upon his or herself to create a userscript to address the issue. Greasemonkey is a Firefox add-on that lets you install and run these userscripts to improve your browsing experience. There is a seemingly endless supply of these userscripts that add or remove elements on a page or change its appearance or behavior. In this tutorial, I will show you how to get up and running with Greasemonkey.
First, a quick note on browser compatibility. Though Greasemonkey is a Firefox add-on, the userscripts written for it may work in other browsers but support will vary. For the purposes of this post, I will keep the focus on installing userscripts via Greasemonkey with Firefox.

To get started, head to the Greasemonkey add-on page to install it. After installing it and restarting Firefox, you are ready to enter the wide world of userscripts. If you are on a Windows machine, you'll see that after starting Firefox a Greasemonkey buttons gets added to the right of your URL bar. This process isn't automated if you are on a Mac. You'll need to right-click on the area to the right of the URL bar, choose Customize from the right-click menu, and then drag the Greasemonkey button to your browser. (If you don't want another button cluttering your browser, you can access the Greasemonkey add-on via the Tools menu option.)
The Greasemonkey button is used to manage your userscripts. Clicking on the button will disable all of your scripts, and clicking on the faded-out monkey will enable them again. You can also use the arrow on the right side of the button to access Greasemonkey's options and a list of your scripts. By itself, however, the Greasemonkey add-on does nothing. To give it something to manage, you'll need to install some userscripts. The central repository for such scripts is the aptly titled Userscripts.org site. Here, you'll find thousands of scripts. The best way to browse the offerings is via the search box or by tag.

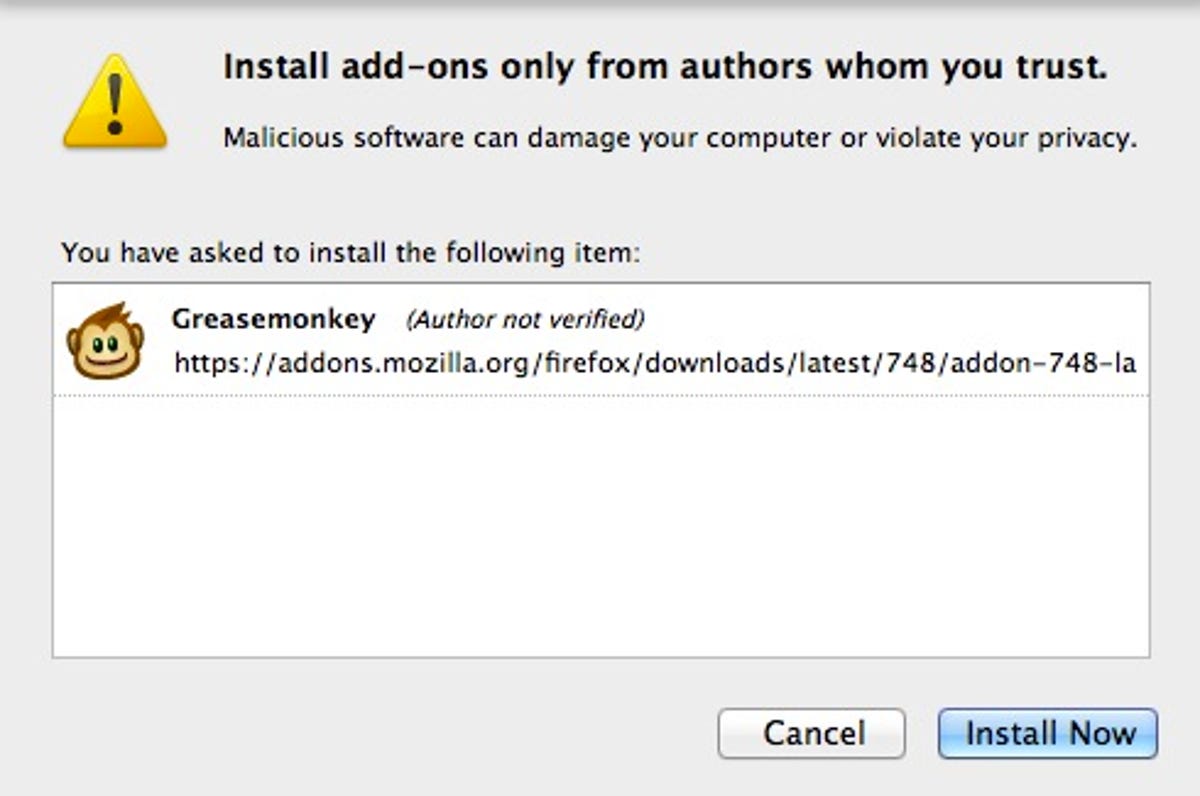
When you find a userscript that looks promising, you can read its description, view its source code, and read user reviews and discussions concerning the script. To install it, don't click the big download button in the center of the page -- it's a banner ad -- but click the green Install button in the upper-right corner that's visible when viewing the About page. A small install window will pop up, showing you which sites it'll run on. Click the Install button to add it to Firefox.

Granted, my MacBook Pro is beginning to show signs of age, but I found that the Greasemonkey add-on severely slowed down Firefox. The add-on was much more responsive on a Windows 8 machine.
Next, find out how to manage your various Greasemonkey scripts.