Get started with Instagram's Hyperlapse app
The new app helps you create time-lapse videos using your iPhone.


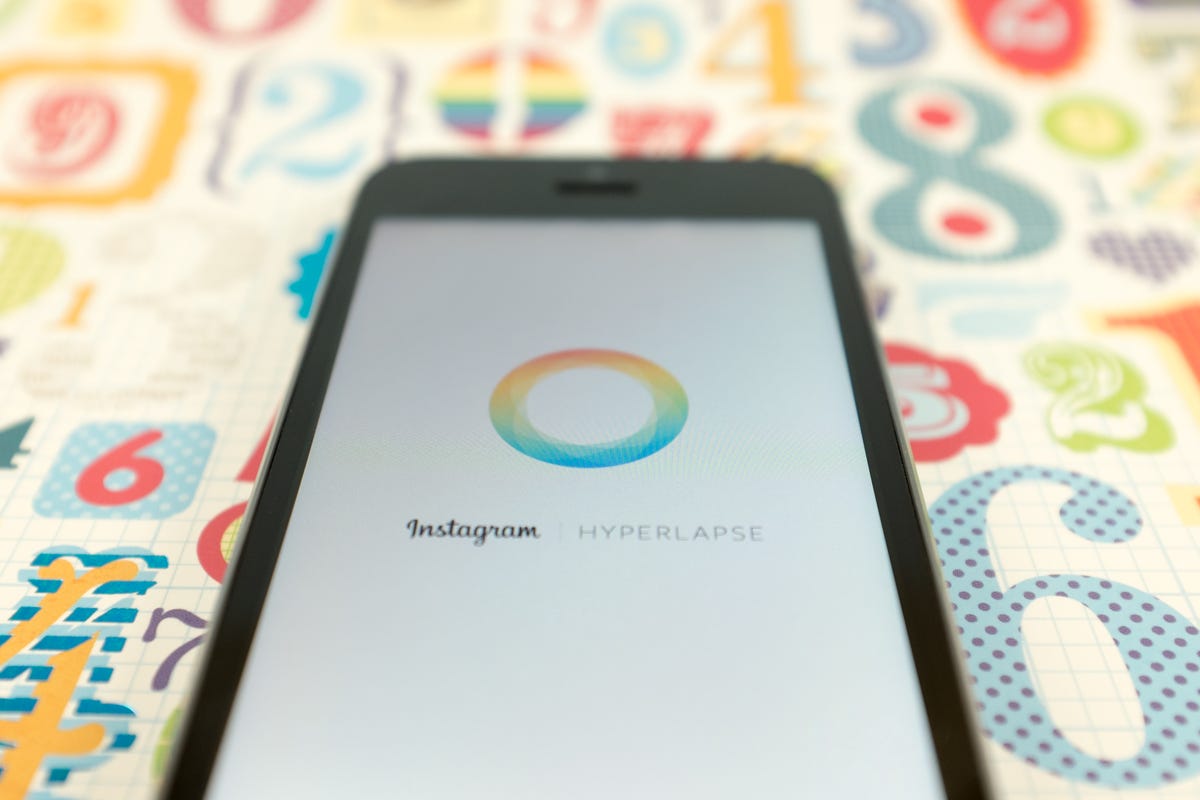
Creating a time-lapse video using your iOS device just got a lot easier (without the help of iOS 8 , mind you). On Tuesday, Instagram released a stand-alone app called Hyperlapse. The app is currently only available for iOS devices; sorry Android users, you'll need to wait until Google makes some API changes to the gyroscope and camera, according to Wired.
Upon launching the app for the first time you're walked through some example time-lapse videos, and then asked to grant permission for the app to access your Camera and Microphone. Obviously lacking is the need to connect the app to your Instagram account. That's right, Hyperlapse isn't directly tied to your Instagram account -- its primary job is to help you create videos.
Capturing
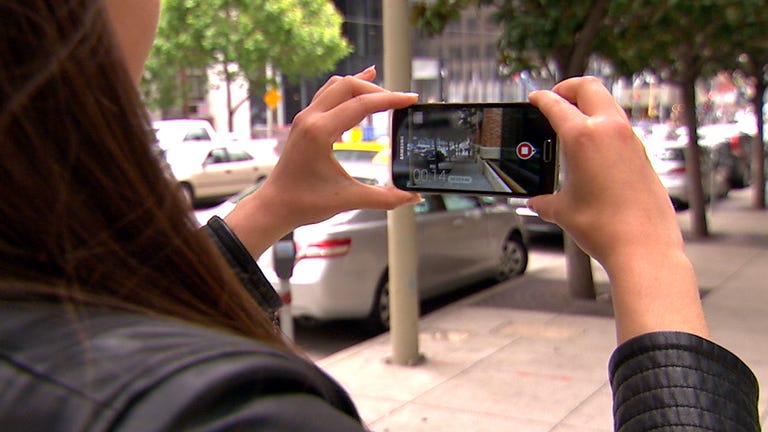
Recording a video through the app is exactly what you'd expect from an iOS camera app. A tap on the white shutter button starts recording, with another tap to stop recording. Just under the shutter button you'll notice two different time indicators. The time on the left is the total time recorded, while the time opposite represents the time-lapse length at the default 6x setting.
You won't find an option to enable or disable the stabilization feature - it's baked in and on at all times. And after viewing a video in its "unstabilized" format, you'll be happy the app is designed this way.
Editing
Immediately after tapping the shutter button to stop recording, edit mode is launched. A slider allows you to adjust the speed of the video. With options ranging from 1x to 12x speed, you have complete control over how fast or slow the video plays back. Just keep in mind adjusting playback speed directly impacts the length of your video.
To view your video without the included stabilization feature, touch the screen as your video plays; "Unstabilized" will display along the bottom of the screen, showing you just how much better off you are when recording video within the app.
Sharing
Selecting the checkmark will save the video to your Camera Roll, followed by prompting you to share the video with either Instagram or Facebook. But as you already know, you can share content from your Camera Roll through various services.
Tapping on the red "X" will give you the option to delete the video, or save it within the app for editing later. Tap on the blue circle on the record screen to access your saved videos.
If you have a Hyperlapse video you're quite proud of, share a link to it in the comments. I have a feeling our Instagram feeds are going to be overrun with this feature for at least a few weeks.