First day tips and tweaks for new MacBook owners
Get a new holiday MacBook? Here's how to get the most of it right away.


- Author of the award-winning, NY Times-reviewed nonfiction book The Tetris Effect; Longtime consumer technology expert for CBS Mornings
As much as new MacBook owners love to rave about their systems, no laptop -- even one with an Apple logo -- comes right out of the box ready to perform optimally.
And while it's certainly exciting to unwrap a new holiday MacBook, there are a handful of tweaks, tips, and fixes you should check out on day one that will make your MacBook easier to use. I've put together some of my personal favorites here.
There are many more I could list, and I'm sure I've left out some of your favorites, so feel free to leave your own Day One tips for new MacBook owners in the comments section.

Turn on tap-to-click
This one drives me absolutely crazy. Until you go into the System Preferences menu and follow the path: System Preferences>Trackpad>Point & Click, then check off the "Tap to click" checkbox, you have to physically press down on the touchpad to register a click. That's the opposite of how it works on a Windows PC, and one of the few times the Windows way is unquestionably better.
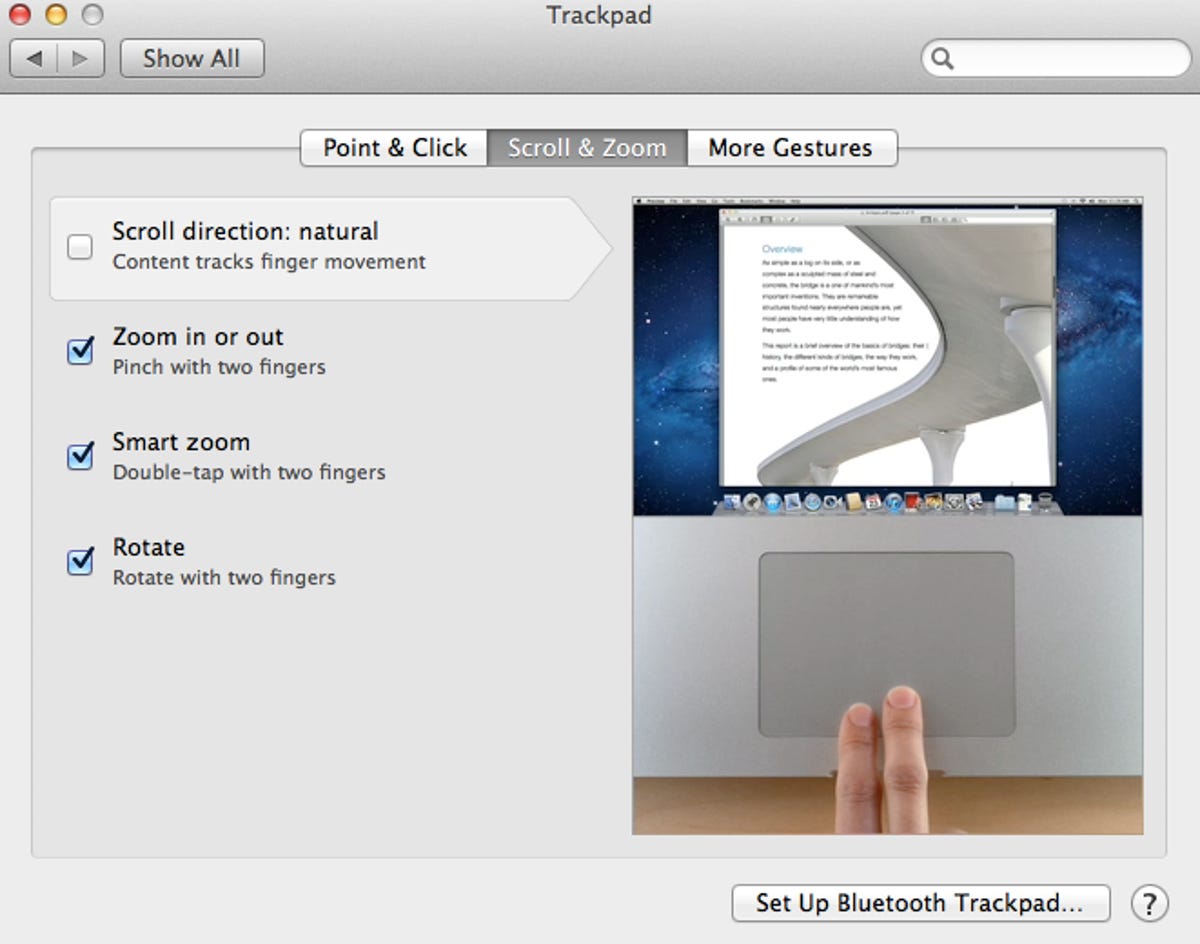
Reverse "natural" scrolling
Windows 8 followed OS X in reversing the long-standing way two-finger scrolling worked. I'm sure if I just started using a laptop, the new "natural" way would feel right, but I'm just too set in my ways to change now. (Yes, I'm completely aware that I sound like one of those guys who won't give up a trackpoint nub or trackball.)
If you want to change back to the classic style, pulling your fingers from top to bottom to navigate down a page, follow the path System Preferences>Trackpad>Scroll & Zoom, then uncheck the box for "Scroll direction: natural."
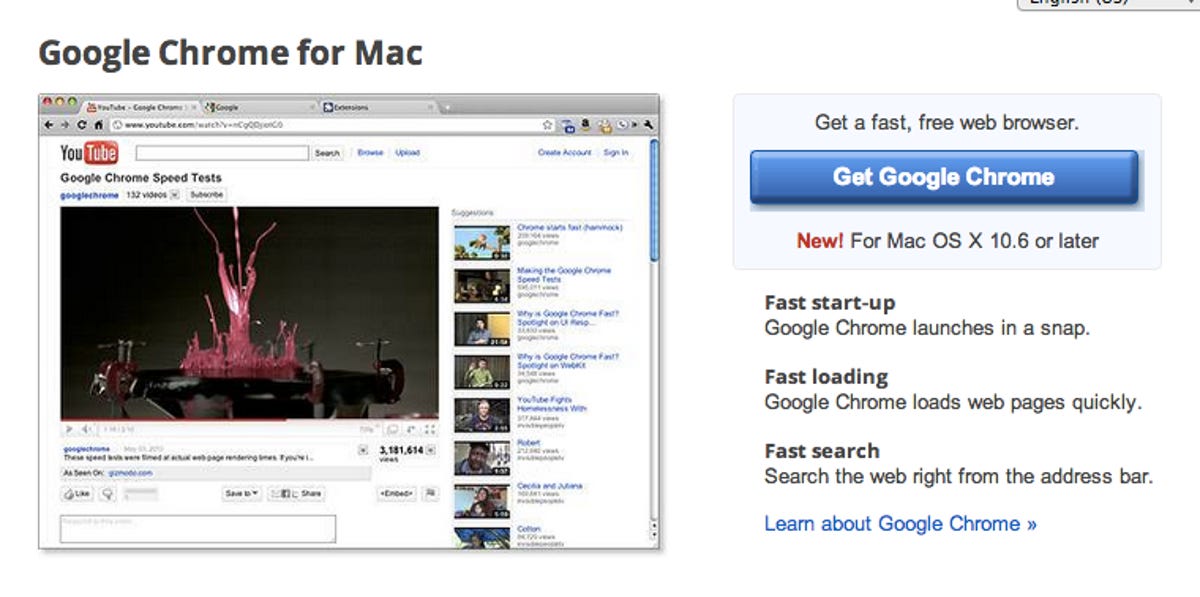
Get a new Web browser
Just as Microsoft bundles IE into Windows 8 (as in previous versions of Windows), Apple bundles Safari into OS X. It's perfectly fine, and even has some decent cloud/syncing functionality now, but it's not the perfect tool for every task, especially as some Web tools are built with Chrome or even Firefox in mind.
I'm currently partial to Google's Chrome browser, because I can sign into my master Google account from any computer, Windows or Mac, and get instant access to my bookmarks, mail, and other features. At the very least, it makes sense to have two or more Web browsers installed in case one gets stuck on a Web site you're trying to visit.
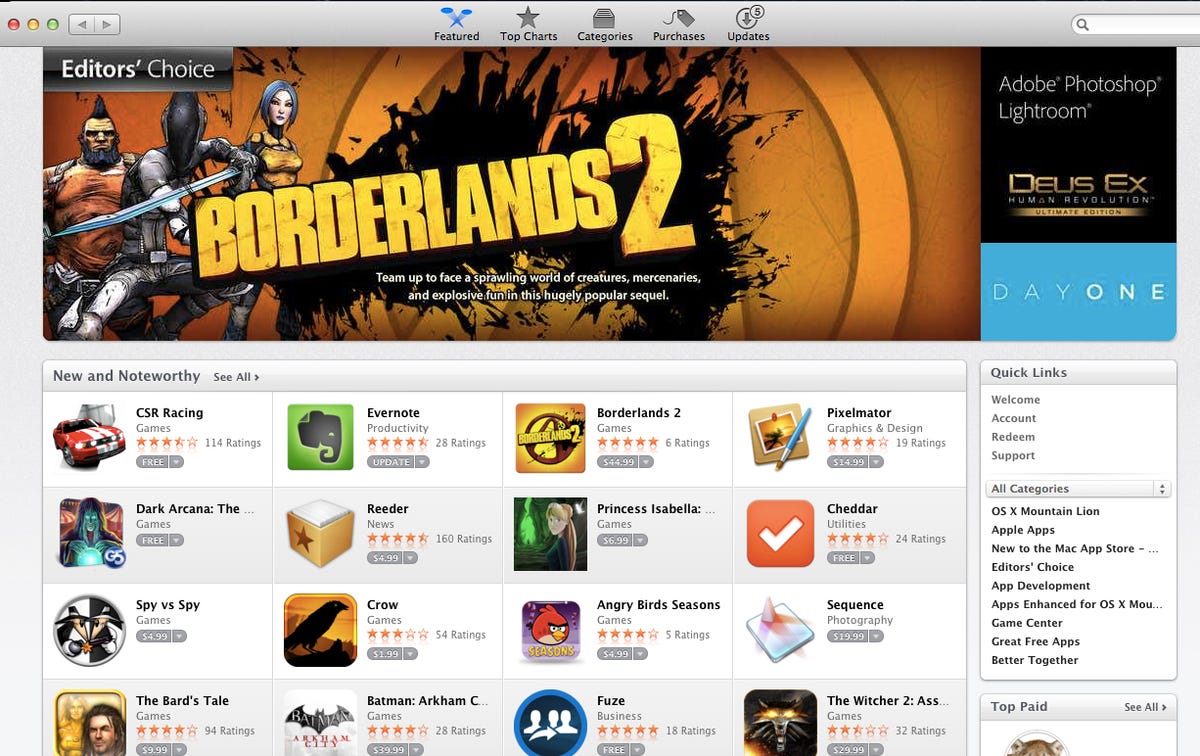
Comparison shop for apps
In a smart move, Apple created an App Store for OS X, much like the one found on iOS devices. (Microsoft now builds a similar store into Windows 8.) But unlike the iOS App Store, you can actually get new programs for your Mac from many sources, not just Apple's official store.
When the Mac App Store launched last year, I did some comparison shopping and found a lot of the software offered was available for less elsewhere, including Steam and Amazon. The Apple App Store may be the most convenient, but it pays to comparison shop.
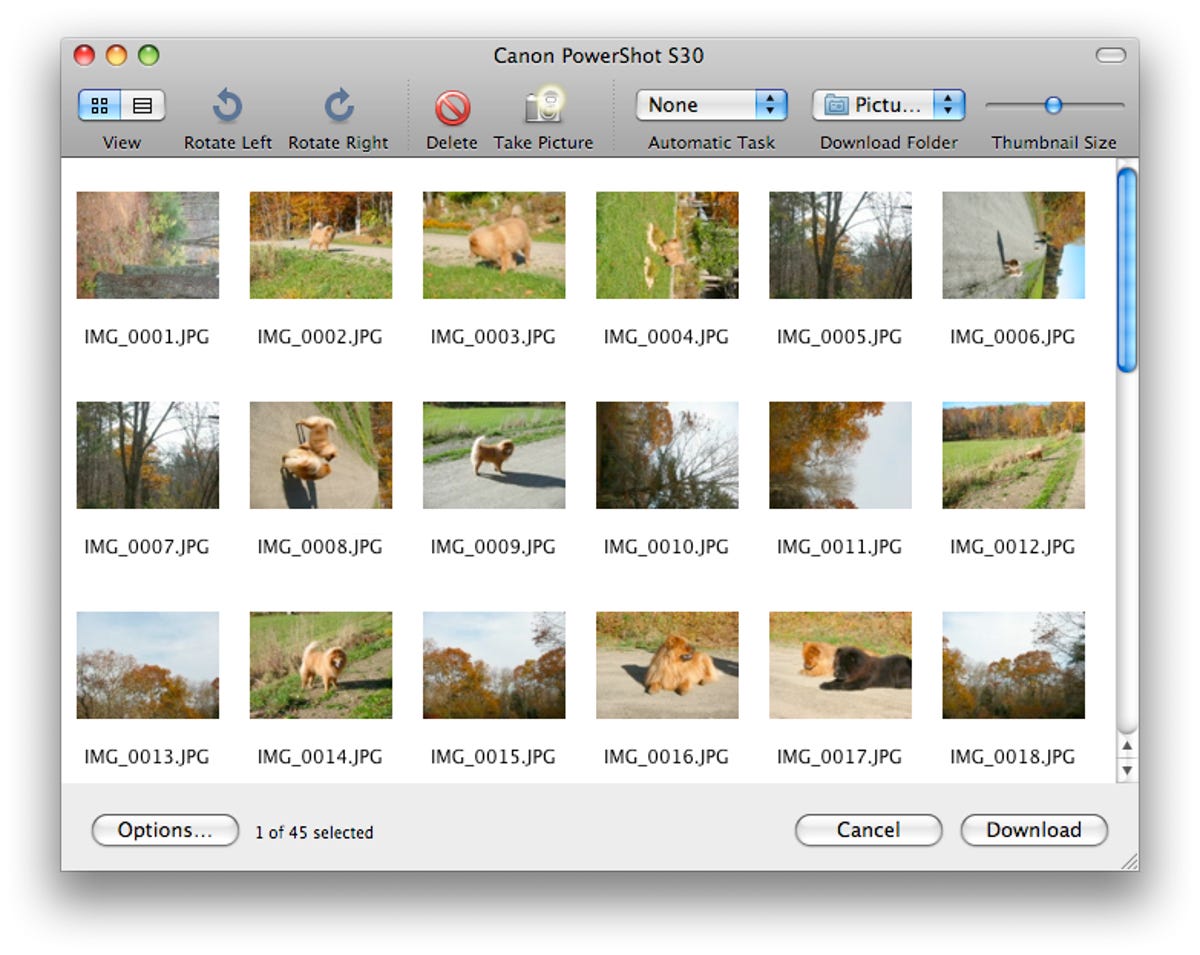
Use Image Capture instead of iPhoto
Apple's iPhoto app certainly has a ton of features, looks very nice, and is a standard for organizing and sharing photos, but it's also bloated, it can be slow at times, and it stores images by default in a hard-to-find library.
Instead, use the Image Capture app, which you'll find right in the Apps folder on your MacBook. The interface is stripped down and simple, and you can pull photos from your phone or camera right into any folder easily.