10 tips for getting started with Dropbox Paper
Dropbox is entering the world of online document collaboration. Here are some tips and tricks to help you get started with Paper.


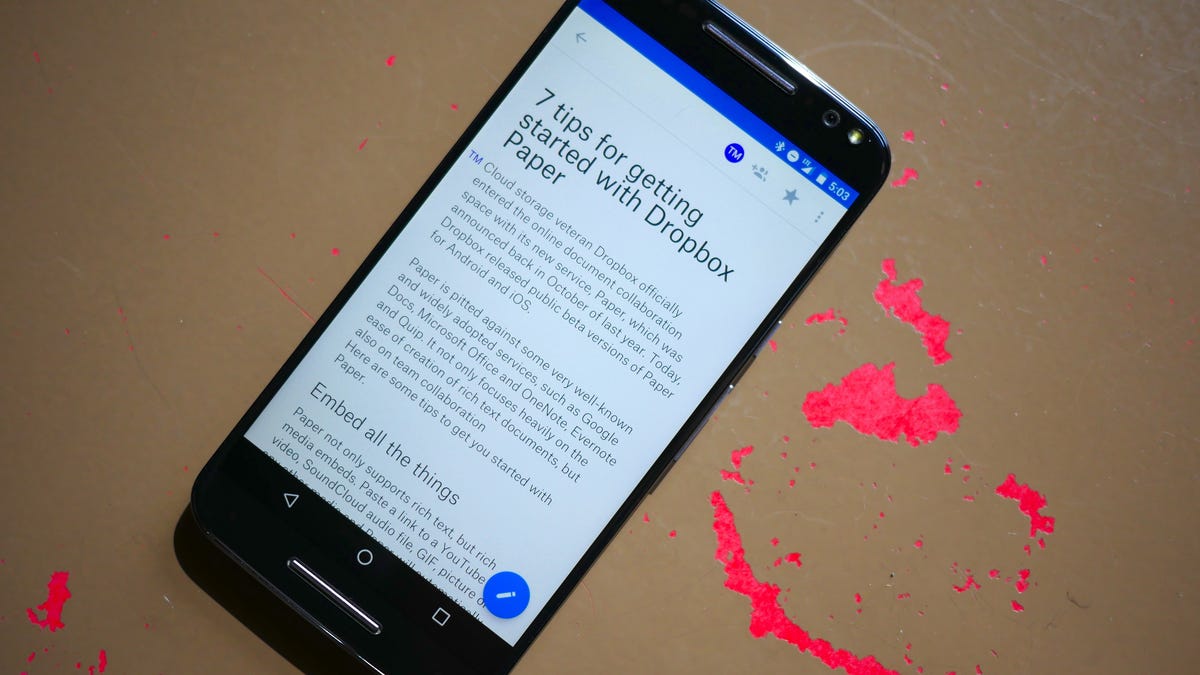
Cloud storage veteran Dropbox officially entered the online document collaboration space with its new service, Paper, which was announced last October. Today, Dropbox opened the beta up to the public, sans waitlist, and released beta versions of Paper for Android and iOS.
Paper is pitted against some very well-known and widely adopted services, such as Google Docs, Microsoft Office and OneNote, Evernote and Quip. It not only focuses heavily on the ease of creation of rich text documents, but also on team collaboration.
Keeping in mind that this is very much still a beta, here are some tips to get you started with Paper.
Embed all the things
Paper not only supports rich text, but rich media embedding. Paste a link to a YouTube video, SoundCloud audio file, GIF, picture or any other media and Paper will automatically embed the media into the document. After the media has embedded itself, you can choose to leave or delete the URL; other collaborators will also be able to comment on the media.
Drag and drop galleries
If you're using Paper from the web client at paper.dropbox.com, you can easily drag and drop any photos that you want to add to a document from your desktop. To rearrange those pictures, you can drag and drop them within the document and they will automatically resize and arrange themselves in a collage-style layout.
The easiest table creation you've ever used
To create a table, hover your cursor over a new line and click the plus sign. Immediately, a four-cell (two-by-two) table will appear.
To insert a new row or column, click anywhere inside the table and look for one of the grey dots near one of the intersects of the cells. To delete an entire row or column, click inside the table to reveal the borders. Click one of the border cells to select all cells in that row or column. Clicking the border cell in the upper left corner will select all cells in the table. Once selected, pressing Delete will remove all content from the cells. Pressing it once more will delete the rows, columns or the entire table.
Shortcuts
Getting to know the shortcuts will help you add elements to your Paper documents faster, and if you're familiar with Markdown at all, the shortcuts will feel very natural. On a new line:
- Typing # and adding a space will create an H1 header. Likewise, ## will insert an H2 header and ### will create an H3 header.
- A hyphen followed by a space will start an unordered list.
- A number and a period followed by a space will start an ordered list.
- Typing open and close bracket without a space between them starts a checklist.
- Entering three hyphens creates a divider.
Other in-line shortcuts you may find helpful are:
- Wrapping text in two sets of three back ticks (```) will create a code snippet.
- Adding one asterisk or one underscore to either side of a word, sentence or paragraph will italicize it. Highlighting the text and pressing Ctrl+I on Windows and Linux or Command+I on Mac also works.
- Adding two asterisks or two underscores to either side of a word, sentence or paragraph will make it bold. Highlighting the text and pressing Ctrl+B on Windows and Linux or Command+B on Mac also works.
- Highlighting text and pressing Ctrl+K on Windows and Linux or Command+K on Mac will allow you to quickly hyperlink that text.
- Typing a colon followed by a space will open an emoji search. Typing will narrow the results and you can click or use your arrow keys and return or enter to select and insert an emoji.
Other text editor commands should work within Paper, as well. To discover other hotkeys, highlight text or click the plus sign on a new line and hover your cursor over any of the buttons.
Tag other collaborators
You can mention other collaborators within the body of a document or within comments. Type the at symbol (@) and start typing their name or email address. Paper will narrow the results based on other collaborators added to the document and contacts from your connected Google account. Selecting a contact will send a notification to them.
Get notifications everywhere
The latest update to the Paper beta brings notifications to the web, mobile and desktop. While there is no Paper app for desktop, the notifications should push through the Dropbox desktop applications.
To ensure notifications are pushed to your desktop as they happen, go to paper.dropbox.com and click the bell icon in the upper right corner. Click the settings cog and the dropdown menu beside Send desktop notifications. Select Immediately and click Save.
Find document history
If you've made a change to a document and are past the point of Ctrl+Z-ing your way back to safety, you're not entirely out of luck. You can check the document version history using the web app. Open the document at paper.dropbox.com, click the overflow menu (the button with three dots) in the top right corner and click View history.
Within that window, you should see all the recent changes that have been made to that document and who made the changes, if it's a collaborative effort.
Word count
Likewise, you can check your word, character and emoji count from the web view. Click the overflow menu button in the upper right corner and select Word count. This will show you the total number or words, characters and emojis used in the current document. From this window, you can also view comment and the document's version history.
Quickly jump to any section
If you use headers in your document, a series of grey and blue lines of various lengths rest at the leftmost part of the window in the web app. The longest lines are for H1 headers, the medium length lines are for H2 headers and the short lines represent H3 headers. The blue line is your current position in the document.
Dragging your cursor over these lines will reveal the different sections of the document and clicking on one will quickly move you to that section.
Secure your documents with Touch ID
From the new iOS app, you can protect your documents using the Touch ID sensor. To enable the fingerprint security, open the iOS application, navigate to Settings and click the toggle button to the right of Touch ID.
The problem is, unlike with Evernote's fingerprint security, the prompt for Touch ID does not appear any time you back out of the application and reopen it. In order to lock the app, you must manually close Paper using the task switcher.