$1 Custom Poster Hangers: Here's How I Made My Own
It's expensive to hang large prints -- unless you make your own hanging rods with recycled materials.


- Shortlisted for British Photography Awards 2022, Commended in Landscape Photographer of the Year 2022
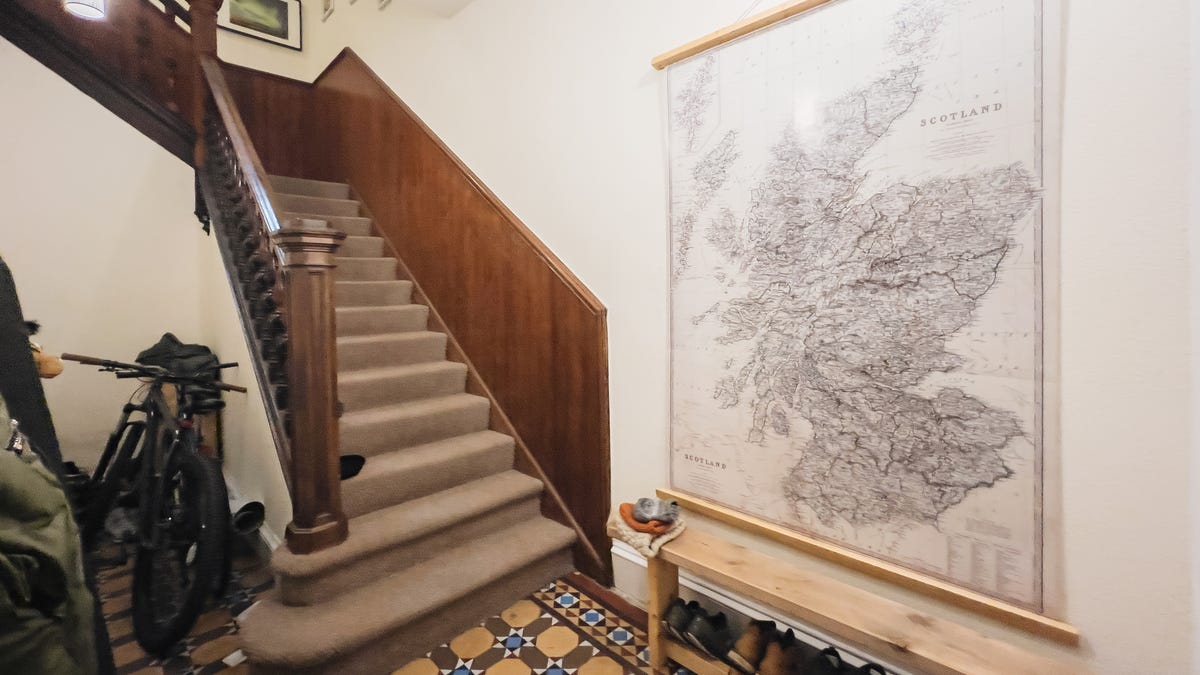
This map print is massive. Off-the-shelf hanging rods weren't going to cut it.
Hanging large posters or big art prints can be tricky, and buying a huge frame or wide hanging rods big enough to support the paper can get expensive quickly. Sure, you could just tape your prints to the wall, but that would give them a look more like something you'd find in a student dorm than your lovely home. But I found I was able to make my own poster hanging rods out of reclaimed wood that were easy to make, looked beautiful and only cost me $1.
The rods attach to your poster across the top and bottom: The top strip provides a way to hang it off your wall, while the bottom acts as a weight to keep the poster taut against the wall. I recently ordered a print measuring 47x71 inches, but I'd need to get custom-made rods that would cost around $80 if I wanted to hang it, so I was very happy to find a home-made solution that saved me a lot of cash and made use of otherwise scrap materials.
Here's how I did it. For more home decor tips, check out the best place to mount your TV, and the best Urban Outfitters home decor deals available now.
Read more: Best Smart Home Products for 2022 That Aren't Made by Amazon or Google
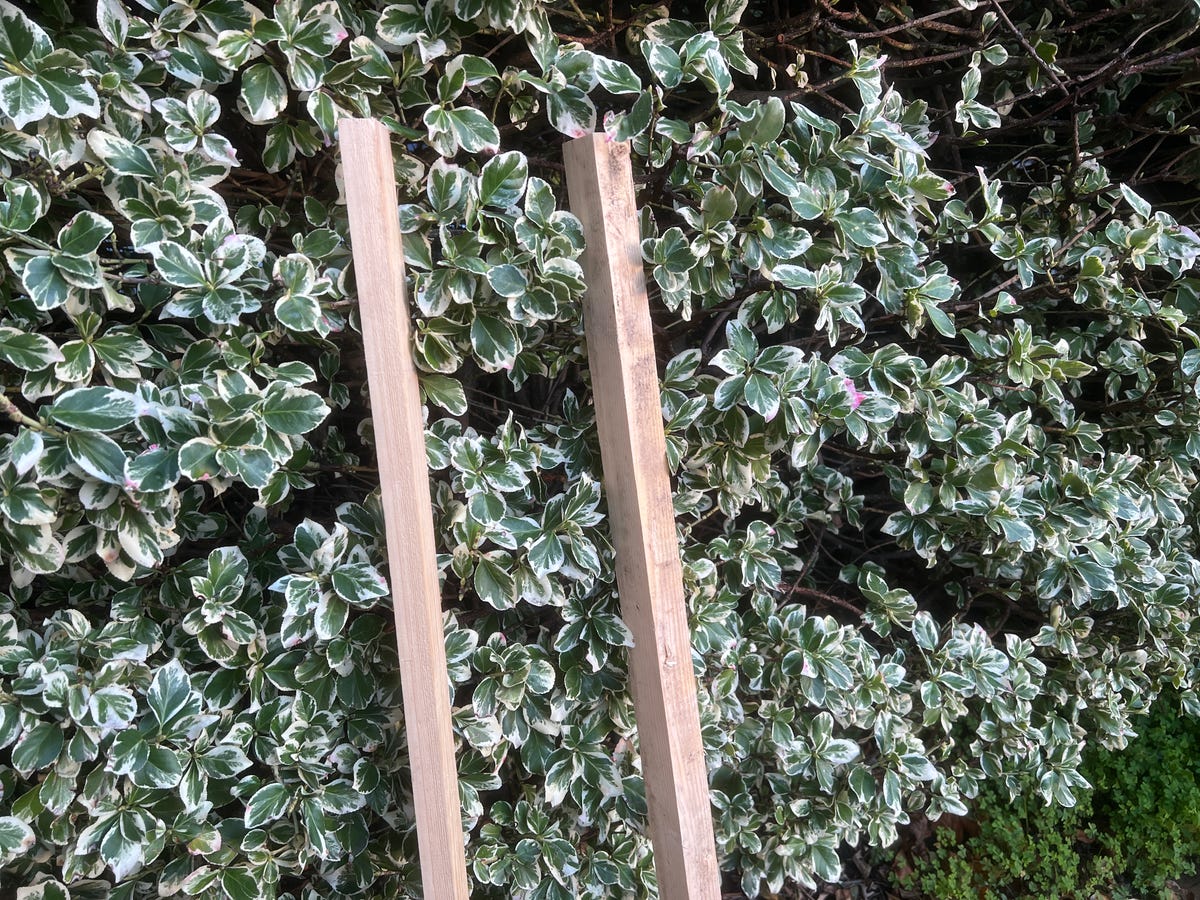
The wood batons I got were cheap, but were dirty and scuffed.
Step 1: I measured my print's top edge. If you're hanging it in portrait orientation, it'll be the shorter measurement. If you're hanging in landscape, you'll want the longer measurement. I wanted the rods to extend slightly beyond the print, so I added about 2 inches to each side.
Step 2: I visited a local reclaimed wood supplier. If you can upcycle and reuse otherwise wasted wood, that's always preferable to using virgin timber, but you may not have a recycled wood shop near you. (Google will help you there.) I found a couple of pieces of timber that didn't match, but that wasn't a problem, and I had the wood shop cut them to size. It cost me 78 pence here in the UK, which works out to almost exactly $1 USD. I can't argue with the value.
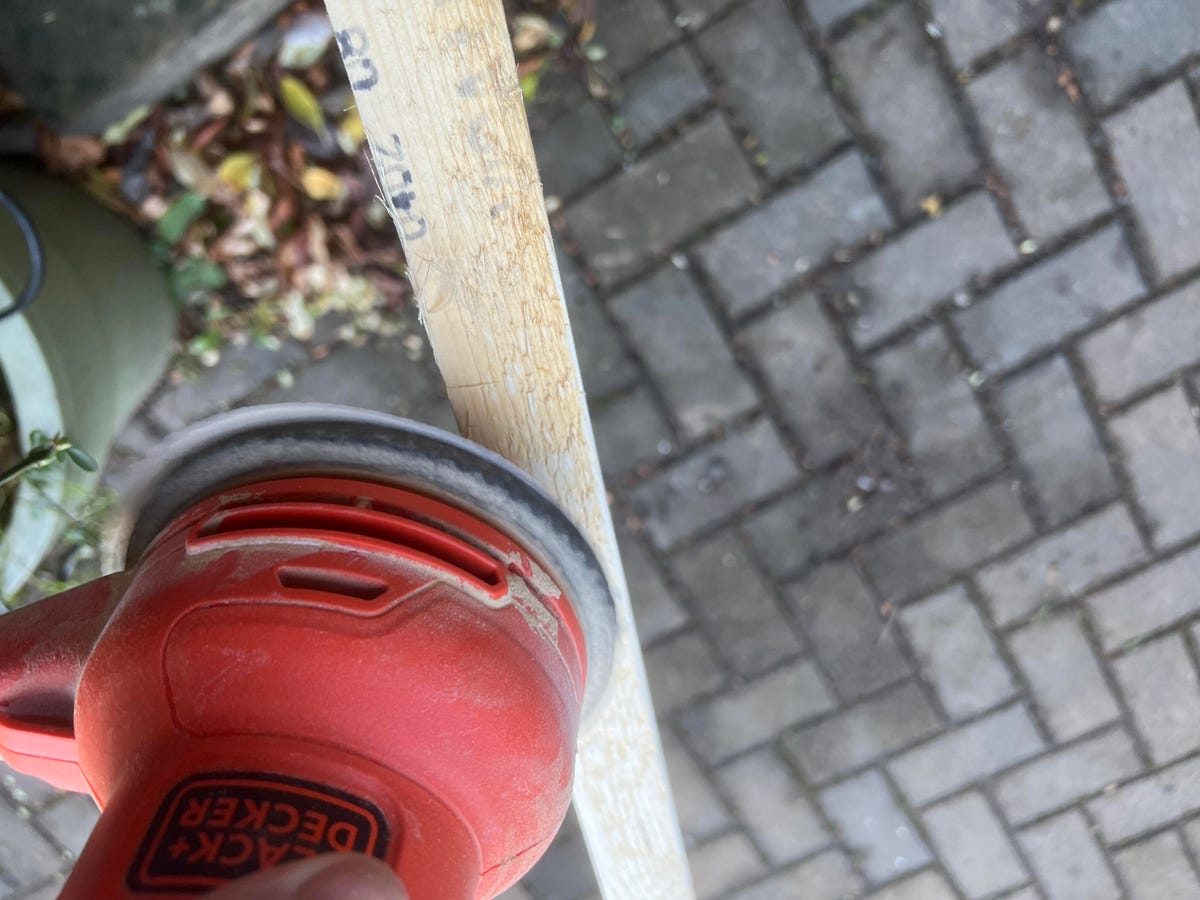
Some time with an orbital hand sander and they looked good as new.
Step 3: Being reclaimed from an old bit of furniture, I think, the wood was a bit splintery and rough with visible pen and printing marks. I used an orbital hand sander and gave both pieces a thorough sanding until they looked and felt great.
Step 4: I used Danish wood oil on an old rag (formerly an old T-shirt) and worked the oil into the wood, which gave it a darker tone. This is just an aesthetic choice that you don't need to follow if you prefer the wood's natural look.
Once oiled and dried, I screwed in picture hooks in order to attach the cord for hanging the frame.
Step 5: I screwed in two picture hooks into the piece that would form the top bar and tied cord between the two. I used enough cord to loop it back over itself three times, making it stronger overall when hung. While once or twice would probably have been enough, I was concerned that the print's weight, plus the wood at the bottom might be too much of a strain.
Step 6: Attaching the poster print to the hanging rods was the most difficult part. Premade rods often come as two pieces for the top and two for the bottom. Each pair usually snaps together using magnets, trapping the print and holding it in place. I couldn't get enough thin wood for this, so I instead opted for one larger, solid piece at either end that I would attach to the poster using small nails and glue.
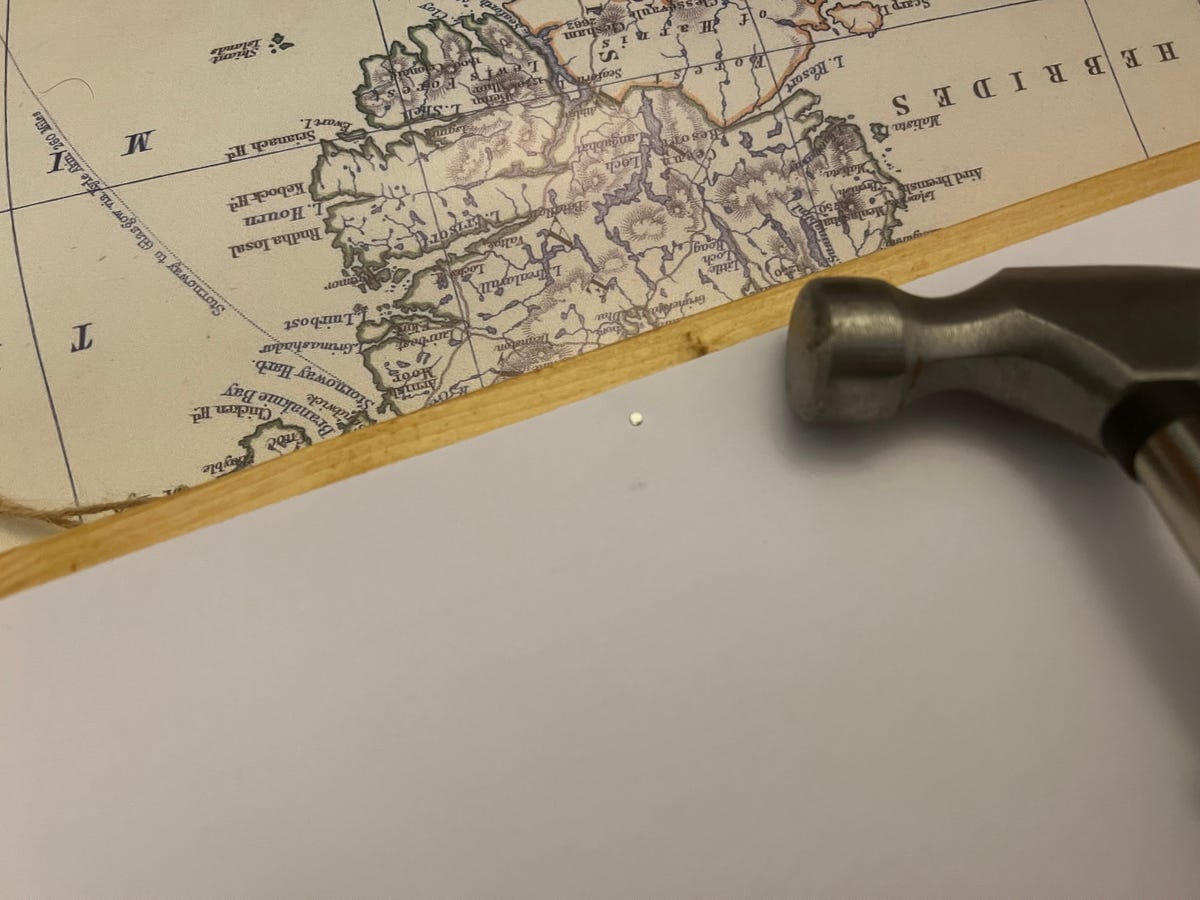
I first attached the print to the rods using small nails. It made it easier to get the print into position and keep it taught all the way along.
The downside is that you can't simply swap the print out by undoing the magnets when you want a refresh. Removing the print using my solution would involve tearing the top and bottom off. On the upside, this is a very cost-effective solution if you know you want this print hanging for a long time. If that's the case, using such a permanent fixing approach will be fine.
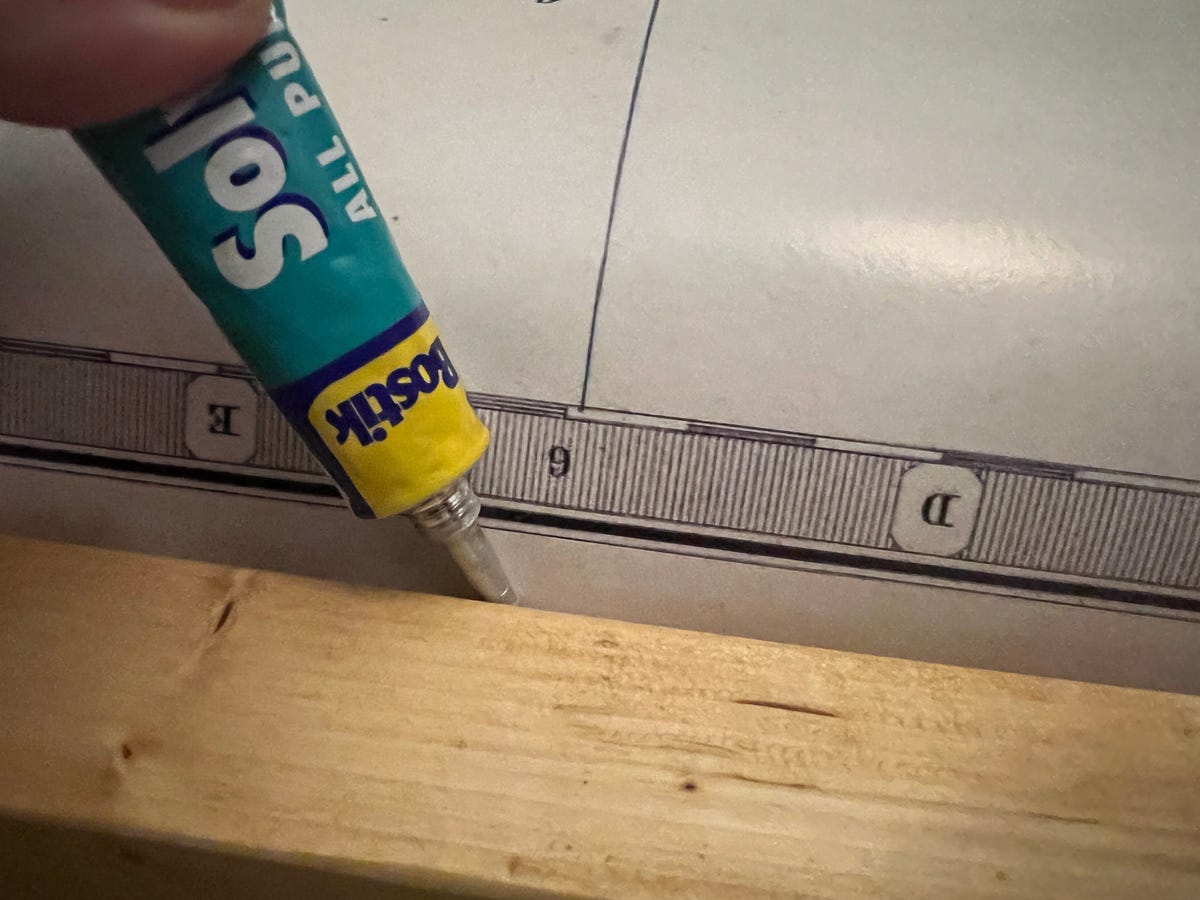
I squeezed in some glue into the gaps between the nails to add extra strength.
The poster should be attached to the backs of the rods, with enough overlap left over so you can put the poster in place. When your print is lined up with the rod, use small nails (or a sturdy staple gun) to affix the print in place, working your way along its length to ensure it remains taut and in line. Then, with a thin-ended tube of glue, insert glue into the gaps between the nails or staples and pile some weights (I used some books and a PlayStation4 that happened to be nearby) until the glue dries.
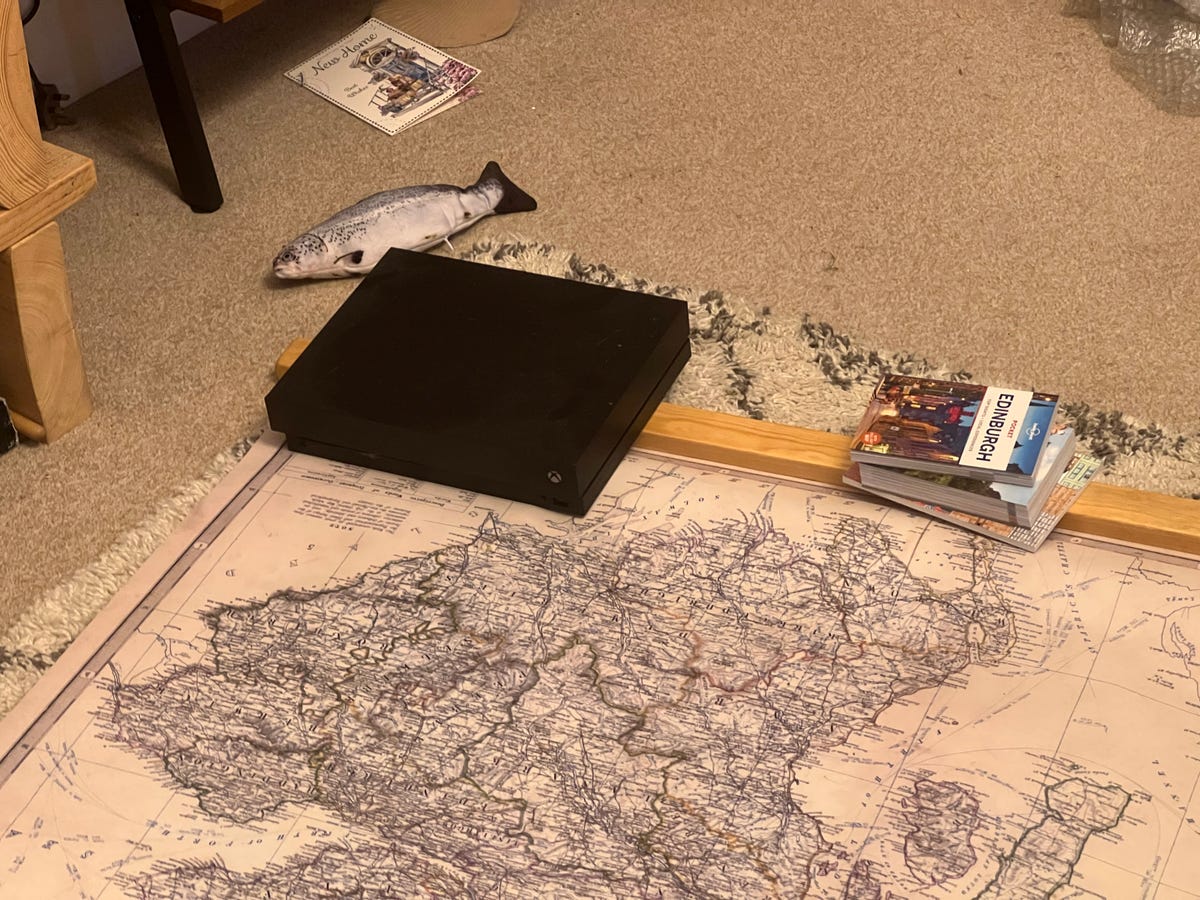
And I weighted the rods down with books and a PS4 until the glue had dried.
Step 7: Hang your mounted print from the cord you attached onto any regular picture hook or nail in your wall. Ensure that the hook or nail is able to take the weight of your new mounted print, particularly if it's been hammered into older drywall.
Step 8: Stand back and enjoy your lovely, massive print.
For more Home Tips, check out the best place to put your houseplants, and how to unclog a toilet without a plunger.