How to get started with Luminance
This easy-to-use, yet powerful photo-editing app for the iPad or iPhone allows you to crop, rotate, and apply filters to your pics.


When snapping photos with an iPhone, applying a quick Instagram filter or choosing a Hipstomatic film is about all the photo editing I can stand to perform. With its larger display, however, the iPad is a much more suitable photo-editing tool. And for only 99 cents, Luminance (99 cents) provides a great number of editing tools organized in a streamlined way. (Truth be told, Luminance is a universal app, but for this post, I used the app on an iPad 2.)
To get started, tap the + button in the upper-right corner to either take a photo or choose a photo from your camera roll, photo stream, or iPhoto (if you have your iDevice set up to sync some portion of your iPhoto library). The photo will then be imported into the Luminance library. All of the photos imported into Luminance reside here as a thumbnail; to remove a photo from this library, tap and hold on a photo to select it and tap the delete button at the bottom.
Tap on a photo from the library to open it up for editing. The first editing option is a collection of 19 Instragram-like effects. I didn't find many of these filters to be all that impressive. Many create washed out or overexposed images, but thankfully you can tweak the effects.
At the top of the editing screen are four buttons.

The first, labeled FX, is where you'll find the aforementioned filters. Next to it is an edit button (with a slider icon) that lets you tweak the effects of your chosen filter. You can also skip the filter and take an unedited photo and add your own filters by tapping the + button to the right of the photo when viewing the edit options. You can apply numerous edits, each is layered onto the previous edit(s), giving you virtually unlimited options to tweak the look of a photo.
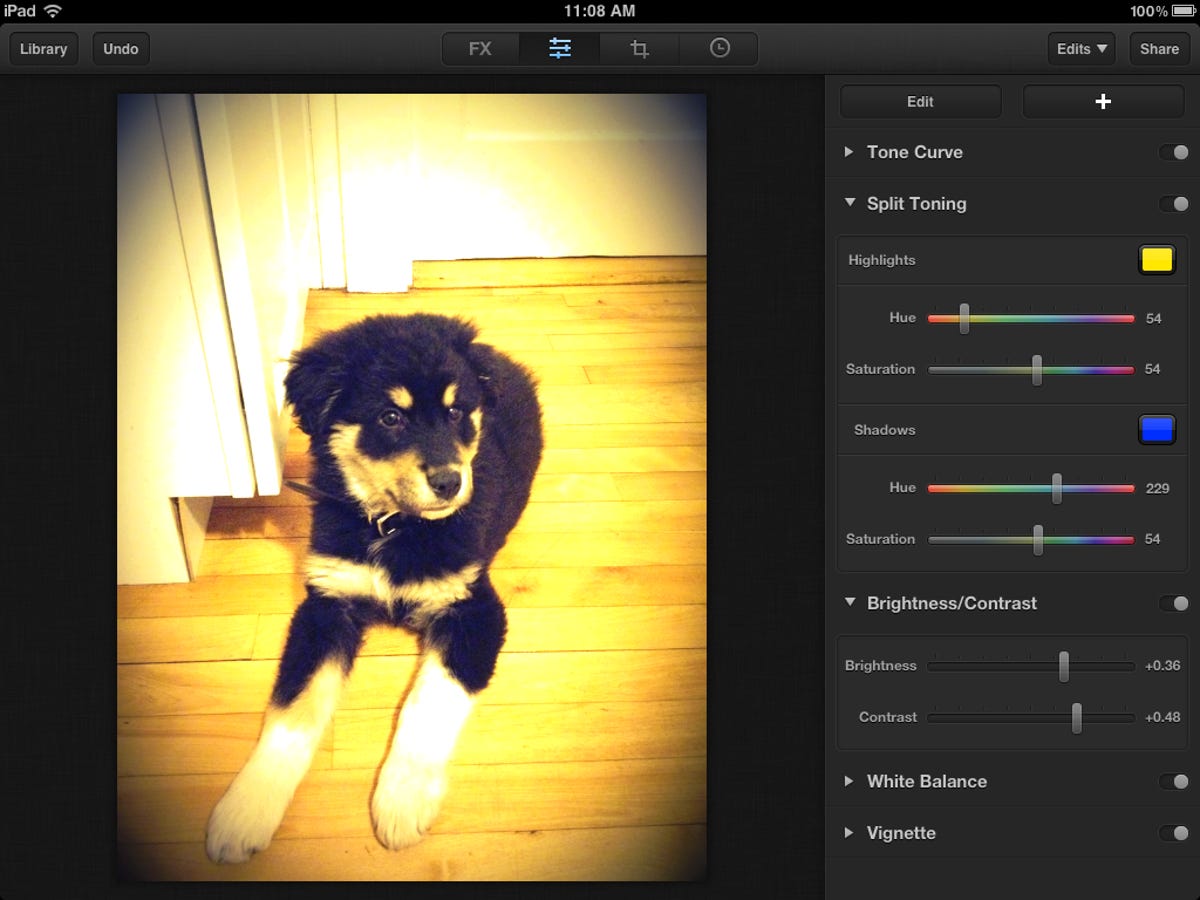
The third button lets you crop or rotate the photo, and the fourth button lets you view the history of the edits you have performed, letting you travel back to a previous edit.

In the upper-right corner of the screen is a Share button, which lets you share via Facebook or Twitter, e-mail, or save to your camera roll. Next to the Share button is an Edits button, which lets you copy and paste your current edits to another photo. You can't, however, save a particular blend of edits, but you can always return to a photo in your Luminance library and copy its edits and paste them to another photo.